
lizard tank background decor can make a enclosure look “real,” but the bigger win is function: better climbing options, more cover, and a layout your reptile is more likely to use. If your tank still feels like a glass box with a hide and a bowl, the background is usually the missing piece.
Most people focus on plants and substrate, then wonder why the setup still looks artificial, or why their lizard never climbs the “cool” ledge they built. Backgrounds sit in your pet’s line of sight all day, and they quietly affect security, humidity pockets, cleaning effort, and even heat gradients.
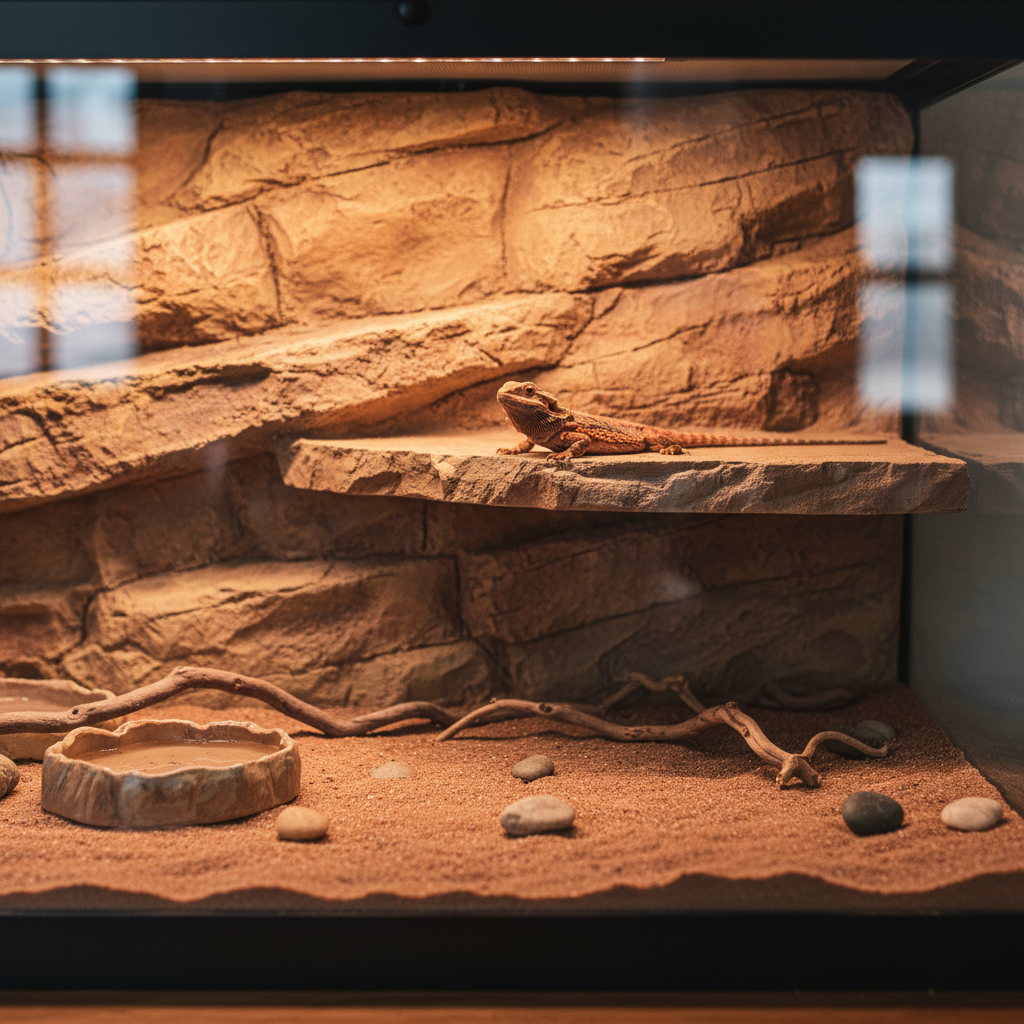
This guide helps you choose a realistic background that fits your species, your tank size, and your tolerance for DIY. I’ll also point out the common mistakes that look fine on day one and become annoying by week three.
What “realistic” means in a lizard background (and what it doesn’t)
A realistic background usually has three traits: believable texture, natural color variation, and depth. Depth matters more than people expect, because a flat print can look nice but it rarely creates usable climbing routes or micro-hides.
That said, “realistic” does not mean copying a rainforest wall for a desert species, or adding so many ledges that you block airflow and make cleaning miserable. The goal is a background that supports your animal’s normal behavior, then looks good while doing it.
- Arid species often benefit from rock strata, cork flats, and dry crevices that read “safe” without trapping moisture.
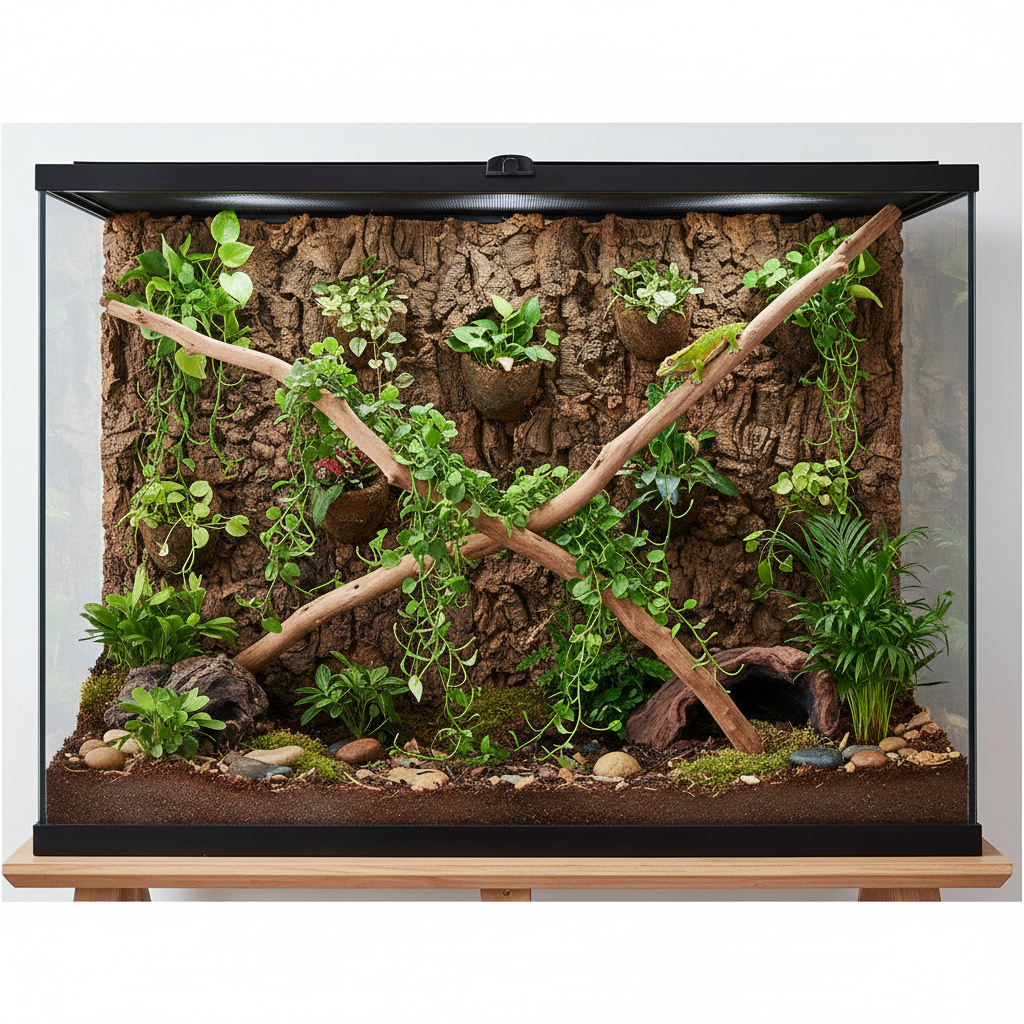
- Tropical species tend to use vertical texture, vines, and planted pockets, but still need airflow and surfaces that dry out between misting cycles.
- Geckos with toe pads usually need grippy texture, not glossy resin that turns into a slip wall when wet.
Choosing the right background type: quick comparison table
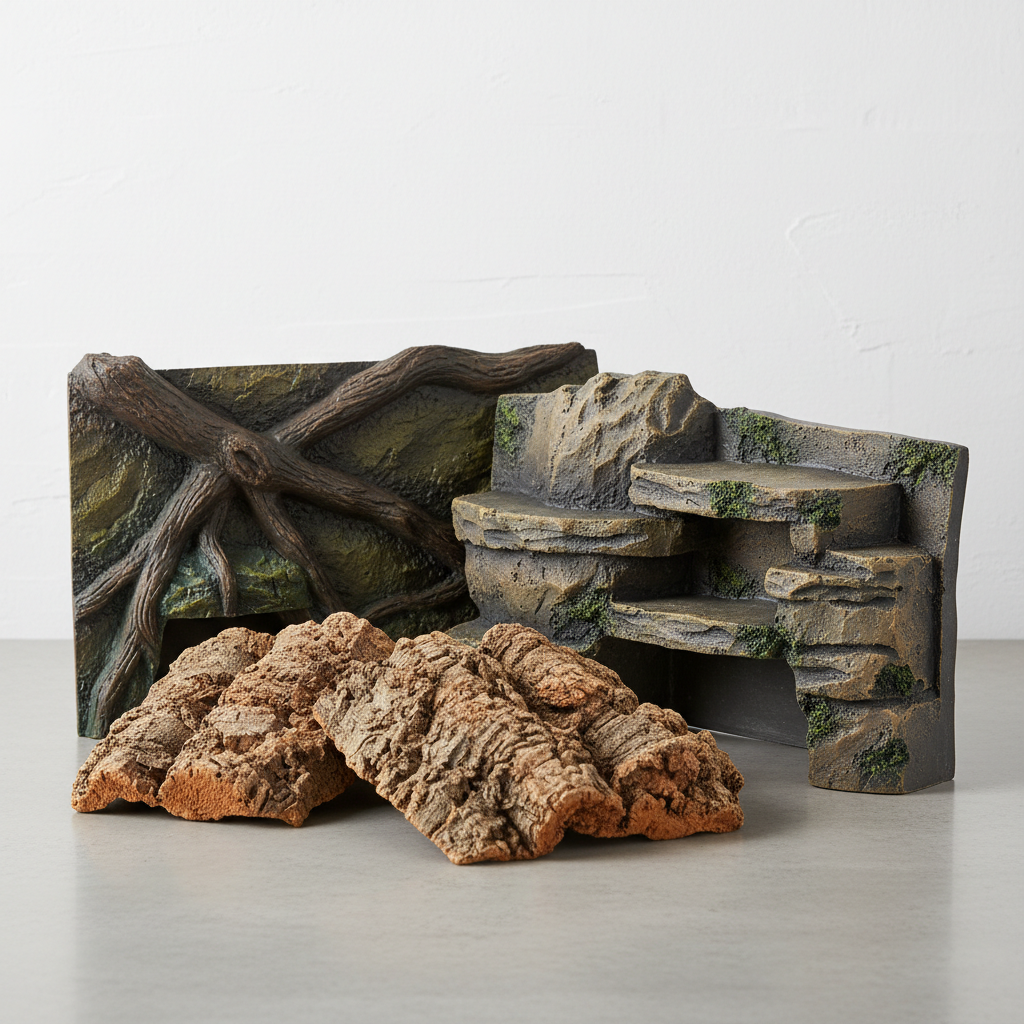
There are a few mainstream routes, and each comes with tradeoffs. The “best” option depends on your species, enclosure material (glass/PVC), and whether you need to remove it later.
| Background type | Looks realistic? | Best for | Watch-outs |
|---|---|---|---|
| 3D foam + sealant (DIY) | High (when textured well) | Custom ledges, bioactive builds | Sealing must be reptile-safe; can be permanent |
| Cork panels / cork bark | High (natural material) | Arboreal setups, geckos | Can mold in very wet tanks; needs secure mounting |
| Premade molded backgrounds | Medium to high | Fast upgrades, consistent finish | Fit gaps, wasted space, price |
| Printed backdrop (2D) | Medium (from a distance) | Budget builds, temporary | No function; glare; can look flat up close |
Why backgrounds fail in real tanks: the problems people run into
Most background problems are practical, not aesthetic. The decor can look amazing and still cause stress, poor airflow, or constant maintenance headaches.
- Unsafe adhesives and coatings: if it smells strongly for days, or stays tacky, it’s a red flag. Ventilation and full cure time matter more than rushing the build.
- Hidden gaps: a small space behind a panel becomes a “lizard highway,” and retrieving an animal stuck behind the background is not fun.
- Humidity mismanagement: some builds trap moisture and create damp spots that never dry, which can be an issue for arid species and can encourage mold.
- Bad thermal planning: backgrounds can block heat or create unexpected hot zones close to bulbs. That’s great only if it’s intentional.
According to AVMA (American Veterinary Medical Association), reptile care should include appropriate environmental conditions such as proper temperature ranges and humidity for the species. A background can support that, or quietly work against it.
Self-check: which background approach fits your situation?
If you’re stuck between “I want it realistic” and “I don’t want to rebuild the whole tank,” this quick checklist usually clarifies the direction.
- If you need easy removal later (moving, upgrading tanks), lean cork panels or premade inserts rather than a fully siliconed foam wall.
- If your lizard is heavy-bodied (strong climber, likes to lean), prioritize mechanical support for ledges, not just foam and hope.
- If you mist daily or run a fogger, pick materials that dry predictably and don’t stay spongy.
- If cleaning stresses you out, avoid designs with deep narrow crevices under food zones.
- If you’re on a budget, do “depth” with a few anchored cork flats and strategic rock pieces, then add a simple dark backdrop behind the tank.
How to build realistic lizard tank background decor (step-by-step by scenario)
Scenario A: You want a fast upgrade (no curing, minimal mess)
Go with a premade background or cork panels. Clean the glass, dry-fit everything, then mount so it cannot shift.
- Measure internal back wall precisely, account for cords and vents.
- Use aquarium-safe silicone where needed, and let it cure fully before the animal goes back in.
- Seal the edges so feeders and your lizard can’t get behind it.
- Add depth with 1–2 branch routes or cork tubes that connect floor to mid-height.
Scenario B: You want “museum-level” realism (custom ledges and texture)
This is where DIY foam builds shine, but patience matters. Carve for varied texture, then seal for durability and safety.
- Sketch a simple layout: basking platform, shade zone, and at least one hidden retreat.
- Build ledges with support (PVC, wood sealed appropriately, or embedded structure) so weight is not carried by foam alone.
- Texture the surface so it looks like stone, bark, or packed earth, then seal with a reptile-safe coating.
- Before installing, test-fit with lighting in place to make sure distances to heat/UVB are appropriate for your species.
Because product choices vary, it’s smart to confirm sealants and adhesives are appropriate for reptile enclosures, and when in doubt, consult a reptile veterinarian or an experienced keeper who can evaluate your specific materials.
Scenario C: You want bioactive-friendly backgrounds (plants, microfauna)
Plan drainage and plant pockets like you would in a wall planter, otherwise it turns into a swampy mess. Your background should support roots without staying waterlogged.
- Create small, accessible planting pockets rather than one large cavity.
- Use a breathable top layer (often a textured coating) so the face dries between misting.
- Keep an inspection path: you should be able to see if mold starts, not discover it months later.
Practical finishing touches that make it look real
This is the part people underestimate. A background can be “good” structurally and still look fake because everything is the same color, the same texture, and the same scale.
- Layering: combine one main background material with 1–2 accents like cork flats, stone pieces, or vine lines.
- Color control: muted, natural tones usually look more realistic than high-contrast paint jobs under bright LEDs.
- Scale: tiny “rock texture” on a huge panel can look like foam; vary the pattern so it reads as natural at tank distance.
- Shadow: depth comes from lighting as much as materials, so add a ledge that casts shade and creates a real hiding line.
Key takeaways: realism comes from depth, usable pathways, and surfaces that match your species’ humidity and grip needs, not from decoration alone.
Safety and maintenance: what to avoid (common mistakes)
Backgrounds fail when they ignore day-to-day care. If you can’t clean around it, or if it creates unsafe heat zones, the “realism” stops mattering.
- Sharp edges: sand or cover any hard corners where a lizard might scrape while climbing.
- Permanent trap zones: avoid tunnels you can’t access with tongs or a small brush.
- Too close to heat/UVB: maintain appropriate distances; when unsure, check manufacturer guidance and consider asking a reptile vet for species-specific advice.
- Overly absorbent materials in wet setups: they can hold moisture and odors, and may increase mold risk.
According to USDA APHIS guidance on safe animal environments, enclosures should be maintained to reduce hazards and allow proper sanitation. Even if you’re not regulated by it as a pet owner, the principle holds: if you can’t keep it clean, rethink the design.
Conclusion: a realistic background should earn its space
A good lizard background looks natural, but it also gives your pet more usable territory and makes your routine easier, not harder. If you do one thing this week, measure your enclosure, map the basking and shade zones, then pick a background type that fits those realities.
If you’re upgrading gradually, start with a simple, secure backdrop and one “hero” climbing route, then add texture and cover after you see how your lizard actually uses the space.
FAQ
What is the safest glue or silicone for a reptile background?
Many keepers use aquarium-safe silicone, but “safe” depends on cure time and ventilation. If a product is not labeled for aquarium use or continues to smell strongly after curing, consider alternatives and consult a professional.
Can lizard tank background decor cause mold?
It can, especially when the background traps moisture behind panels or uses materials that stay damp. Improving airflow, sealing gaps, and choosing surfaces that dry between misting usually helps.
Do I need a 3D background, or is a flat poster enough?
A flat poster is fine for appearance and can reduce stress by blocking reflections, but it won’t add climbing or hides. If your species is arboreal or you’re short on interior space, 3D tends to be more useful.
How do I stop my lizard from getting behind the background?
Dry-fit first, then seal edges or use tight mechanical mounting so there are no entry points. Even small gaps can become access routes, especially for juveniles and slender species.
Will a background affect humidity in the enclosure?
Often yes. More surface area can hold droplets and create humid pockets, which may help tropical species but can be problematic for arid setups. Watch your hygrometer readings and adjust misting and ventilation.
Is foam safe for reptiles if I seal it?
Sealed foam is commonly used, but safety depends on the sealant type, full cure, and whether the surface can be cleaned without degrading. When you’re unsure about a specific product combo, ask a reptile vet or experienced builder.
How do I make a background look realistic under LED lighting?
Avoid overly bright paint, add tonal variation, and build real shadows with ledges and branches. Sometimes simply switching to a warmer LED temperature makes “rock” read like rock instead of plastic.
If you’re trying to get a more natural look without turning your weekend into a messy build, focus on one realistic lizard tank background decor upgrade at a time, a secure panel, a solid climbing route, and a layout that matches your species’ heat and humidity needs.